Sunday, January 30, 2011

Days 8 and 9, over the weekend.

Yesterday, which was a Saturday, I still added to my sugar sculpture...

Day 8

It's a rectangle folks. You may think, "Huh, this girl certainly knows her shapes. I wonder if it'll get any better." To answer your question, yes it will... in time. :)

Day eight

Even on Sunday after a late night out with friends, I continue my long and slow process...

Day 9

Day nine

Yup, it's still a rectangle. Coming to you live from Rachel's apartment. I know it's startling news, but someone's got to talk about it.

~Love & Rockets~
~R~

Friday, January 28, 2011

Day 7, and I'm still going....

It's a slow process, but it's going to get there. I find it funny how this only take a few minutes out of every day, and while I'm looking forward to the final piece, I have to remind myself to do it.

It's getting there on day 7

Glue on day 7

Day 7

I talked to my long-time best friend on the phone today, Fawn, and I told her about my Time Piece. She was interested in watching/reading my blog to see where it goes. It's cool that others find this intriguing enough to want to follow along. Almost feel's like a collaborative piece in a way, since I've talked to her and my boyfriend about the idea to get feedback on it. One day, I would love to work on a big art project that is a collaborative piece.


~Love & Rockets~
~R~

Thursday, January 27, 2011

It is day 6 of my time piece.

Just another piece to add to my sculpture.

It is day 6

The glue seems to be holding, so I am happy.

Photobucket

With luck and patience, I won't get bored with this long process for the next 1 1/2 months. I'm still excited to see how it will work out in the end. :)


~Love & Rockets~
~R~

Wednesday, January 26, 2011

Day 4 & 5 of the process...

Onto the following couple of days I began to try gluing the sugar cubes together in a dissolve-able Elmer's Glue. It was tricky since I know that sugar tends to begin to dissolve and crumble when wet. After giving it some thought, I decided to use a quicker drying agent: rubber cement.

Day four

I was beginning to see a possible problem while I was applying this to the cubes... with too much pressure from my fingers, the sugar was threatening to crumble.

Day four

So, I left them alone overnight in hopes that it would dry and regain some strength.

Day five accomplished

Success! I can pick up the rectangle with care and it stays together. Yay!

Now, I'll have yo test out 2 cubes with glue and in some water to see how well it can stand.


~Love & Rockets~
~R~

Sunday, January 23, 2011

Day 2 and 3 of my project:

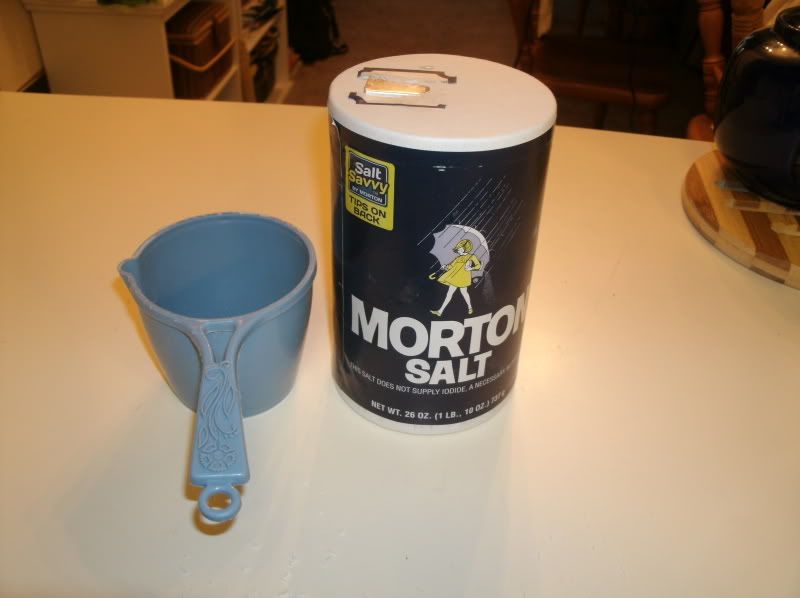
On the second day of my project, I began to mix the ingredients to make the sugar cubes. I had a thought that it would be nice to try using salt instead of sugar, so it will be more eco-friendly. I wasn't sure if it would work, so decided to do a test trial of making salt cubes in one tray at the same time I made the sugar cubes in the other cube tray. That way, I could see how each of them work. It was a fun and easy experiment.

1. Test of using salt

1 Test of using salt

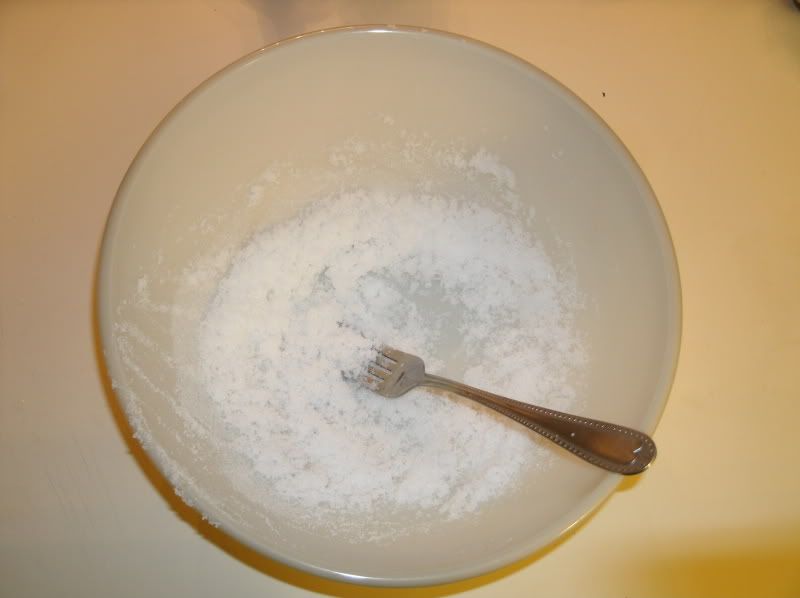
2. Stirring the salt

2 Stiring the salt

3. Making the sugar cubes
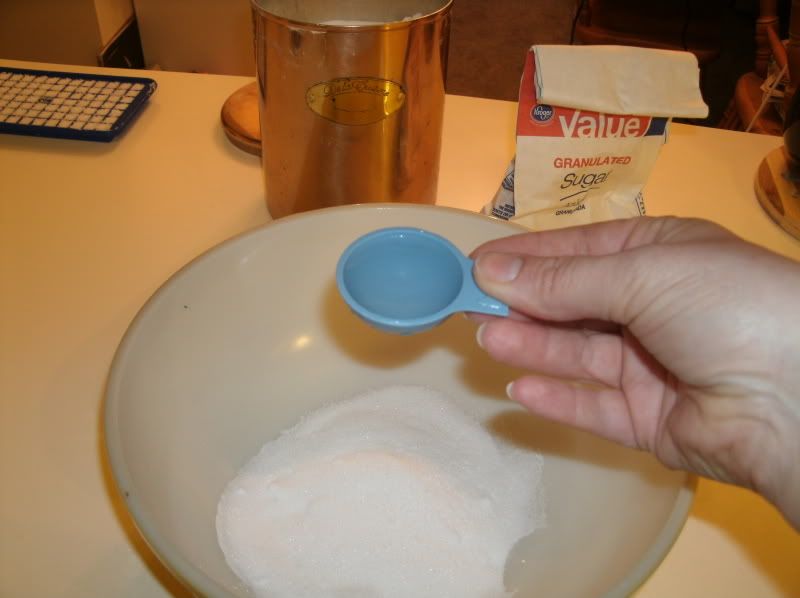
3 making the sugar cubes

4. Mixing sugar

4 mixing sugar

5. Put the sugar in the mold tray

5 Put the sugar in the mold tray

6. Make sure it's pushed into mold

6 Make sure it's pushed into mold

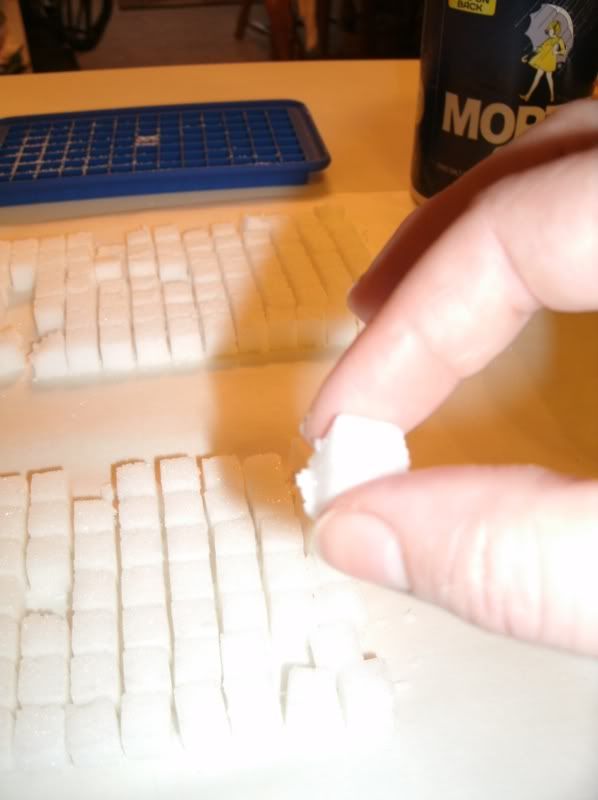
7. Gently scrape off excess sugar

7 Gently scrape off excess sugar

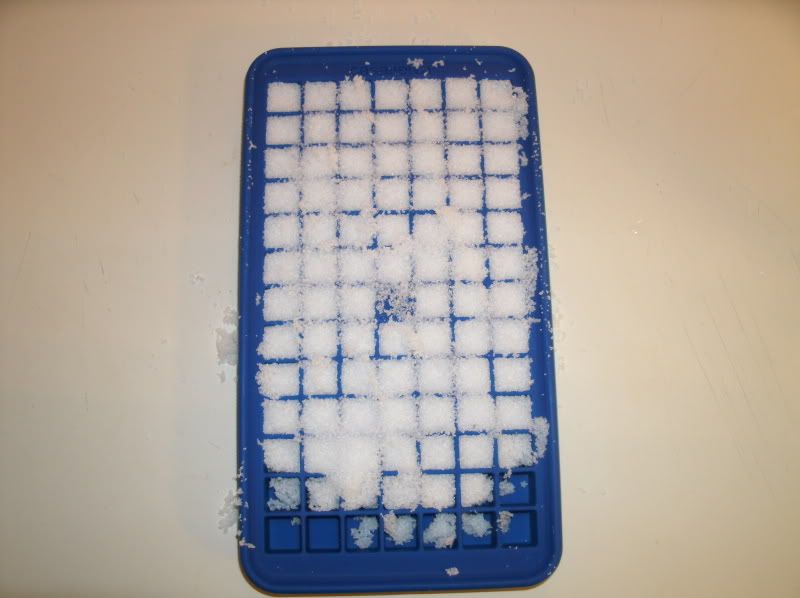
8. Let it set for a couple minutes

8 Let i5 Put the sugar in the mold t8 Let it set for a couple minutest set for a couple minutes

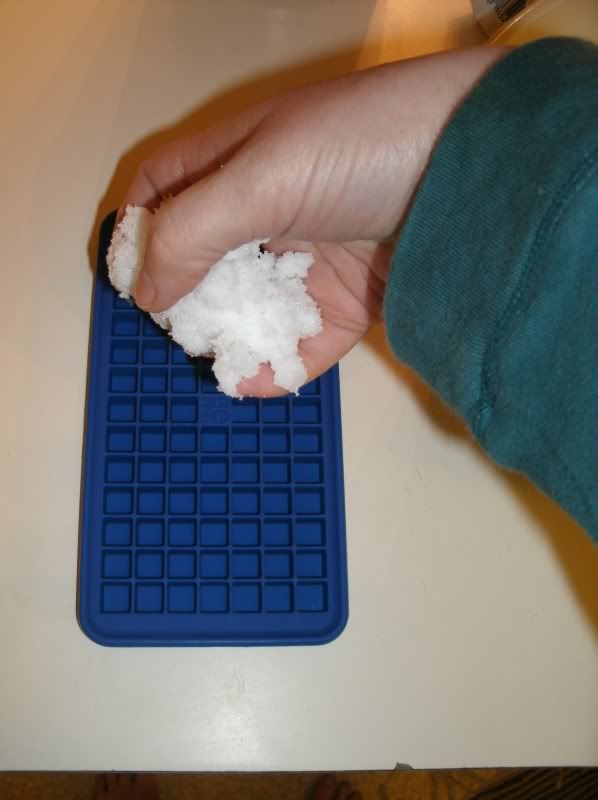
9. Flip over the tray & tap out the cubes

9 Flip over the tray & tap out the cubes

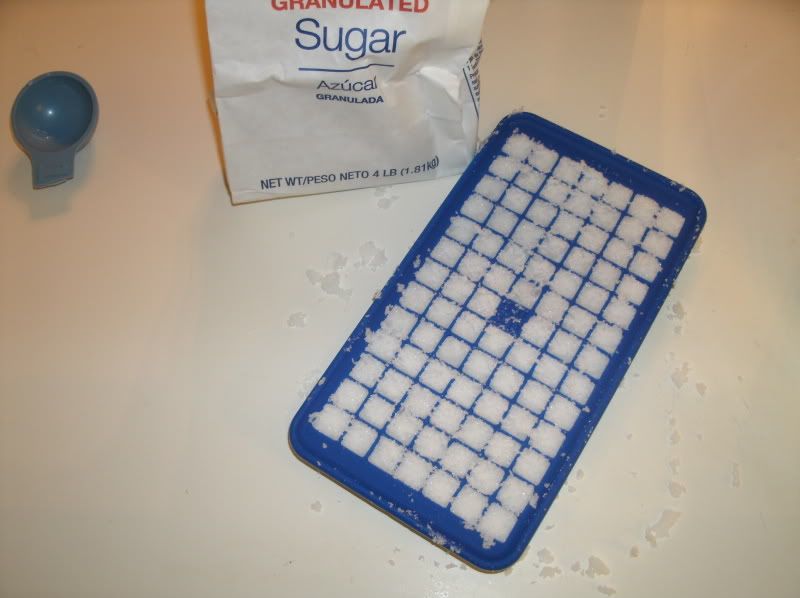
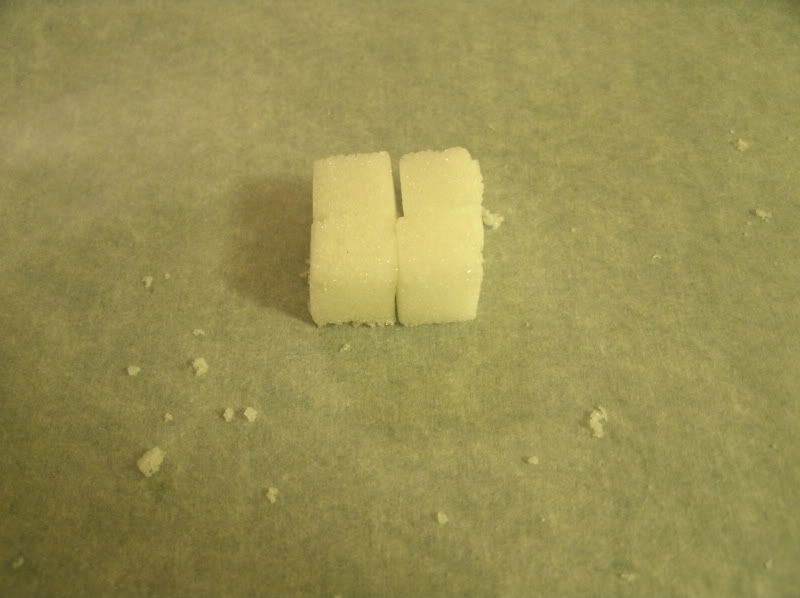
10. Salt is above & the Sugar is below

10 Salt above & Sugar is below

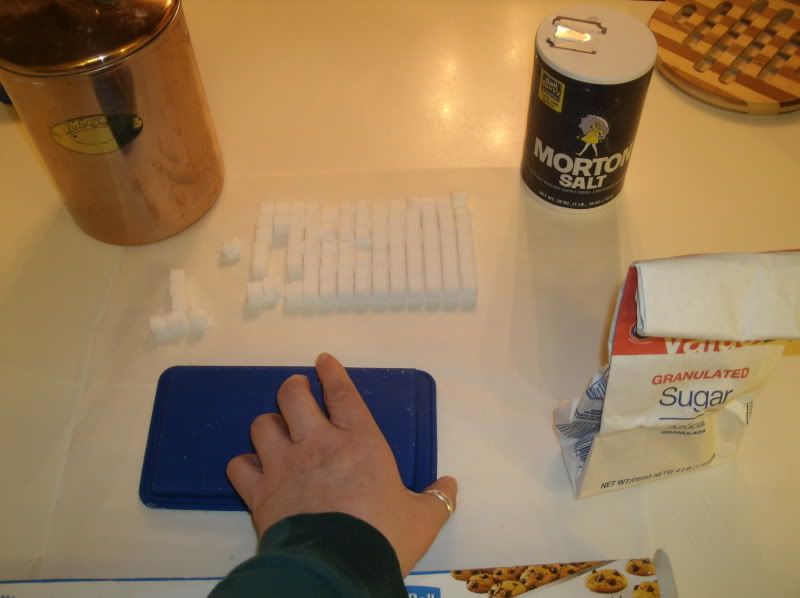
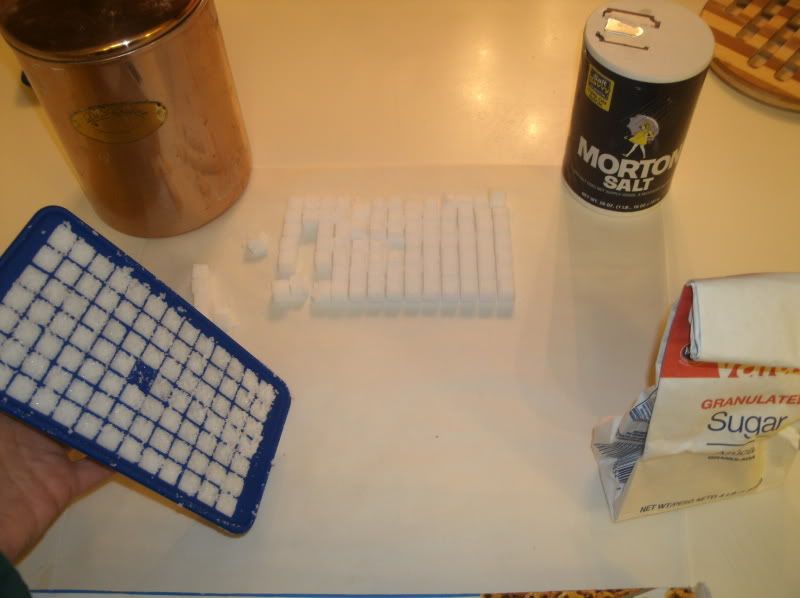
11. Let the cubes set for 30 minutes

11 Let the cubes set for 30 minutes

12. The Salt test failed. It did not set, but crumbled as I suspected.

13 Salt test failed. It didn't set but crumbled.

13. Sugar has set correctly.

14 Sugar has set correctly

After the sugar set, I placed them all into a storage container for the following day to begin building my art project.

16. Day 2 of sugar cubes placed on a tray to build a structure. This will be a slow process since I need to work on it daily. I'll be taking pictures of it & posting them onto photobucket and this blog.

16 Day 2 of sugar cubes placed to build a structure

Day 4 is technically today, so I will b e adding more cubes to my structure and posting them later. I will most likely be posting in this 3 or 4 times a week, since daily I am also busy with classes & work, but I'll still be taking pics of my daily progress.

Here is the Photobucket album link: http://s66.photobucket.com/albums/h259/chaneecat/Art%20130%20Time%20Piece/


~Love & Rockets~
~R~

Friday, January 21, 2011

A new era of blogging...

This Google blog is going to be a new era of my blogging. Since I started to post blogs online about 6 years ago with Livejournal for a mainly private journal, I've got some experience in using these things. Now, I'm going to use this one for one of the art classes called Art 130 3-D Design, that I'm taking this winter quarter at WWU. We are doing a Time Related Piece through out the whole quarter. After giving it some thought, I've decided to record an art project that I will be doing daily. Even though it will be a little each day, I'll be taking pics on my digital camera and posting them weekly here on this blog to show it's progress.

While I don't yet have a title for the piece, I will say a little about it without giving spoilers to the planned ending of the 2 month long project.

Step one/Day one: To learn how to make sugar cubes & get supplies. I searched on the web to find instructions on how to make sugar cubes. It's actually very easy & requires no cooking what-so-ever. Here is the recipe/instructions:

How to Make Sugar Cubes

By Joseph Eitel, eHow Contributor

Petite and sweet sugar cubes are a welcomed addition to any cup of tea or coffee, but they can be quite costly in grocery stores. Learning how to make these simple staples at home can save you money and expand your culinary knowledge. This is also a great project to do with children, as it requires no sharp objects or cooking. Making your own sugar cubes at home gives you control; you can use Splenda for a healthier version or raw cane sugar for a more natural take on the classic white sugar cube. A simple addition of food coloring to the sugar/water mixture can also turn your sugar cubes into something whimsical and unexpected.

Instructions

Things You'll Need:

  • Mini ice cube tray
  • 2 cups of sugar
  • 2 tbsp.of hot water
  • Mixing bowl
  • Spoon
  • Fork
  • Flat surface, such as a kitchen table
  1. Combine two cups of sugar with two tablespoons of water in a mixing bowl.

  2. Mix the sugar and water with a fork until it begins to hold its shape, similar to moist sand.

  3. Spoon the sugar into the moldings of the mini ice cube tray.

  4. Compact the sugar into its molding by pressing it gently with the back of the spoon or with your fingers.

  5. Turn the mold over and gently tap the sugar cubes out.

  6. Dry the cubes out by lining them up on a dry, flat surface. Do not touch them, as they will crumble while still moist. Allow them to sit and dry for anywhere from 30 minutes to 1 hour, depending on the humidity.


After finding this, I went out to find the small ice cube mold/trays (in a silicone rubber material good for bending), at a local kitchen supply store here in Bellingham, WA. I found them at The Greenhouse on 1235 Cornwall Ave www.greenhousehome.com

The plan is to build something out of sugar cubes bit by bit over the course of 2 months.... what it will be is a surprise and what I will do with it an even greater one. :)


~Love & Rockets~
~R~